
“Looking for how to assemble ikea micke desk? This step-by-step guide shows you how to assemble IKEA MICKE desk quickly and cleanly. You’ll get IKEA MICKE desk assembly instructions, a complete tool list, and pro tips to avoid wobble and drawer issues. Finish in about 45–75 minutes.
How to assemble IKEA MICKE desk — step-by-step
Follow this how to assemble ikea micke desk guide alongside your manual to avoid mistakes and keep the frame square from the start.
Use this section to keep your MICKE sturdy, square, and scratch-free during assembly. If you misplace any hardware, see the spare-parts section below for fast replacements.
Manuals & videos for each MICKE product
On every MICKE product page, you can download the official PDF manual and watch a step-by-step video that shows the exact assembly sequence. Open the MICKE product you own, hit “Download manual (PDF)”, then play the video and follow along.
Use the video while following this how to assemble ikea micke desk guide to match each step exactly
Tools & time
- Phillips screwdriver (PH2)
- Small hammer (for wooden dowels)
- Hex key (if your version includes bolts)
- Measuring tape or ruler
- Soft cloth or cardboard to protect surfaces
Estimated time: 45–75 minutes for one person. It’s easier with two.
Before you start
- Unpack everything and lay parts on a clean, flat surface.
- Verify the model name on the manual: “MICKE”.
- Sort hardware by type: screws, cam locks, cam screws, wooden dowels, drawer runners, etc.
- Read through this guide once before you begin.
- Place the desktop face-down on a soft cloth to avoid scratches.
Assembly steps
Step 1 — Identify panels & hardware
Match each panel and hardware piece to the illustrations in your manual. Count quantities. If something is missing, pause and note it.
Step 2 — Insert wooden dowels
Lightly tap dowels into the pre-drilled holes where indicated. Dowels ensure alignment; don’t force them into solid wood.
Step 3 — Install cam screws
Thread cam screws into the designated holes on panel edges. Turn until snug; do not overtighten. Cam screws work with cam locks in Step 5.
Step 4 — Assemble the side frames
Join side panels with cross pieces using dowels and cam screws. Keep everything loosely fitted so you can square the frame later.
Step 5 — Lock with cam locks
Insert cam locks into their circular recesses. Turn each cam lock 180° to grip the cam screw. You should feel a firm stop—avoid over-torque.
Step 6 — Fit drawer runners
Attach left and right runners exactly as shown in the manual (handed parts). The open track usually faces inward. Use the correct screws and keep pairs aligned at the same height.
Step 7 — Prepare and assemble the drawer
Assemble the drawer box: sides to back, then slide the bottom fully into its groove. Add the front panel last and secure with screws. The drawer should slide smoothly into the runners.
Step 8 — Mount the desktop
Place the desktop onto the frame. Align pre-drilled holes, install screws loosely, then square the frame (measure diagonals). Tighten in a criss-cross pattern.
Step 9 — Attach the back panel
Position the fiberboard back panel. Use back-panel screws along the edges. A well-seated back panel greatly improves rigidity and reduces wobble.
Step 10 — Install cable grommet/clip
Press the cable grommet into the cutout and add clips underneath for cable management. Keep cables clear of drawer paths.
Step 11 — Level and final tighten
Set the desk upright on a flat floor. If adjustable feet are included, level the desk. Recheck all cam locks and screws—snug, not over-tight.
Step 12 — Function test
Open/close the drawer several times. It should run straight and close flush. If not, see Troubleshooting below.
Troubleshooting & fine-tuning
- Drawer sticks or won’t close flush: Re-seat the drawer, then check runner heights; replace the runner pair if wheels are worn.
- Wobble after assembly: Re-square the frame, verify the back panel is fully screwed, and ensure all cam locks are turned to lock.
- Screw won’t bite: Confirm screw length/type and that the hole isn’t stripped.
- Panel misalignment: Loosen the affected joints slightly, square, then re-tighten in sequence.
Safety & care
- Build on a protected surface to avoid scratches.
- Start all screws by hand to prevent cross-threading.
- Don’t over-tighten—particleboard can crush.
- Keep small hardware away from children and pets.
- Clean with a soft, slightly damp cloth; avoid harsh chemicals.
Find your spare part
Search for IKEA replacement parts using the product number from your assembly instructions. If you don’t know the part number, download the MICKE desk manual (PDF) on this page and locate the correct letter/number so you can order the right ikea spare parts for your MICKE desk.
Quick spare-parts guide for MICKE
- Screws & bolts: panel screws, machine bolts, cam screws
- Cam locks & dowels: cam locks, wooden dowels
- Drawer parts: drawer runners/slides, drawer stops, front fixing screws
- Brackets & frames: corner/L-brackets, cross-bars
- Back-panel screws & clips
Need replacements now? MICKE desk spare parts.
Download: MICKE desk manual (PDF)
Use the download button on this page to get the official MICKE assembly manual (PDF). Check diagrams, part letters, and quantities as you follow the steps above.
Related resource
IKEA bed assembly — step-by-step guide with tools and pro tips
FAQs
How long does it take to assemble the IKEA MICKE desk?
About 45–75 minutes for one person; faster with two. Unpacking and sorting hardware upfront reduces total time.
What tools do I need to assemble the MICKE desk?
Phillips screwdriver (PH2), small hammer for dowels, measuring tape; some versions include a hex key. A soft cloth prevents scratches.
How do I disassemble or take apart the MICKE desk?
Reverse the build order: remove the back panel screws, lift off the desktop, pull the drawer and its runners, then unlock cam locks before withdrawing cam screws. Keep hardware in labeled bags for reassembly.
Can I paint the IKEA MICKE desk?
Yes, but prep is crucial: clean, lightly sand, and use a primer suitable for laminated particleboard before painting. Avoid thick coats near screw holes and runner paths.
Wrap-up
You now know how to assemble ikea micke desk with confidence. Follow the steps, keep the frame square, and you’ll get a sturdy, smooth-running desk. For each MICKE product page, remember you can download the manual (PDF) and watch the step-by-step video. If you need verified parts, head to https://mickedesk.com/ikea-spare-parts/ and finish your setup today.
That’s everything you need on how to assemble ikea micke desk — download the PDF manual, follow the video, and finish in 45–75 minutes with a sturdy setup.
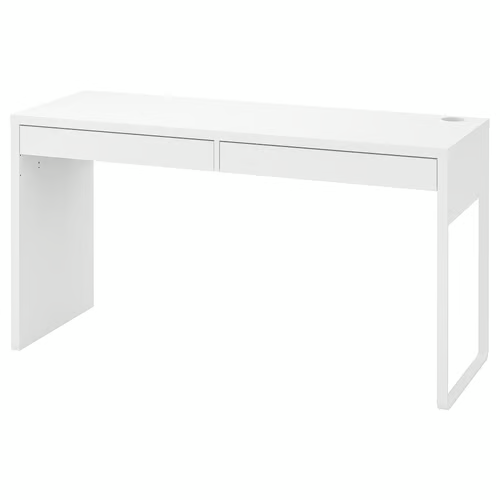
1. MICKE Desk – White (802.130.74)
- Desk Assembly:
- Start by connecting the two side panels to the main desktop using dowels and screws.
- Attach the back support and crossbars to stabilize the structure.
- Install the drawer railings and secure the frame tightly.
- Drawer Installation:
- Build the drawers by assembling side, front, and back panels with screws.
- Insert the drawer bottom panels and slide them into the desk unit.
- Test each drawer to ensure smooth opening and closing.
- Instruction Manual:
Download MICKE Assembly Manual (PDF)
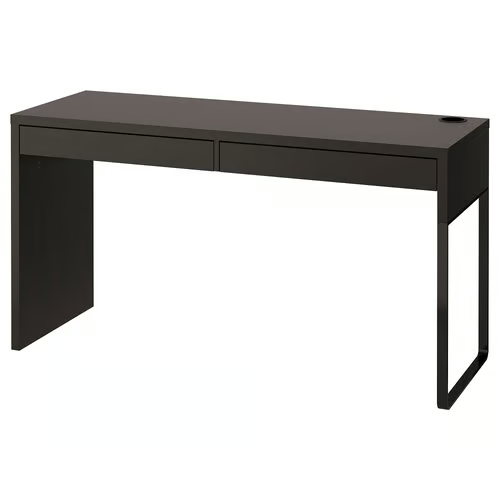
3. MICKE Desk – Black-Brown (802.130.74)
- Desk Assembly:
- Secure the side panels to the desktop using dowels and cam locks.
- Attach the horizontal support panel at the back for stability.
- Install the cable management opening cover on the desktop if needed.
- Drawer Assembly:
- Assemble drawer components: sides, front, back, and bottom.
- Slide the drawer base into grooves and tighten with screws.
- Mount drawer runners inside the desk and slide drawers into place.
- Instruction Manual:
Download MICKE Black-Brown Manual (PDF)
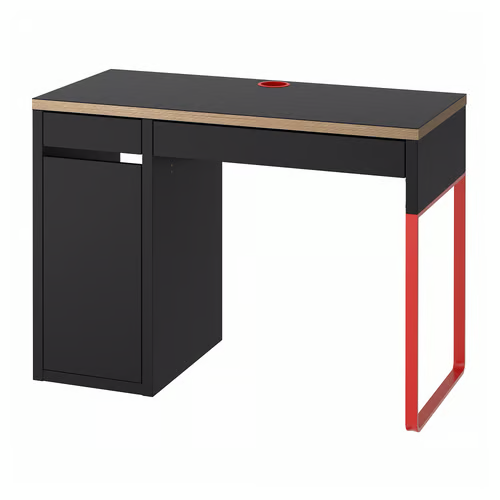
4. MICKE Desk – Anthracite/Red (804.898.50)
- Desk Assembly:
- Secure the anthracite-colored top panel to the red side panels using included cam screws and dowels.
- Install the back support panel and bottom reinforcement shelf to ensure structural stability.
- Attach the desktop cable outlet cover for a clean and organized finish.
- Drawer Installation:
- Assemble drawer sides, back, and bottom, then secure the red drawer front.
- Slide the drawer into the pre-installed metal runners in the unit.
- Ensure alignment before tightening and closing the unit.
- Instruction Manual:
Download MICKE Desk Anthracite/Red Manual (PDF)
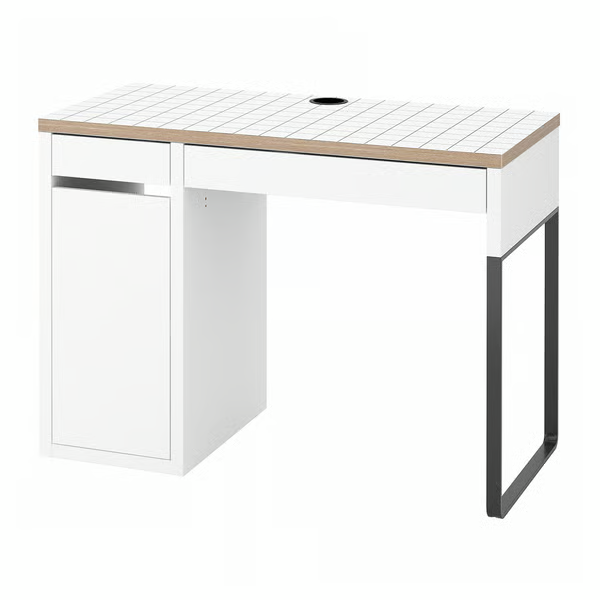
6. MICKE Desk – White/Anthracite (104.898.39)
- Desk Assembly:
- Join the white tabletop with anthracite frame components using screws and dowels.
- Attach back panel for cable management and rear structural support.
- Verify frame alignment before securing the desktop.
- Drawer Assembly:
- Build the drawer using front, side, and bottom panels.
- Insert drawer into pre-installed runners and confirm smooth sliding.
- Instruction Manual:
Download MICKE Desk White/Anthracite Manual (PDF)
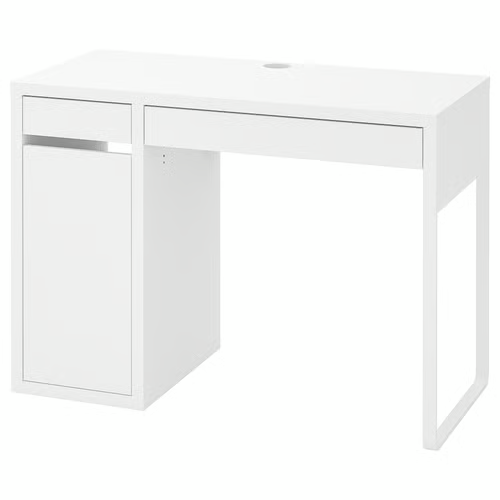
1. MICKE Desk – White (902.143.08)
- Desk Assembly:
- Start by attaching the side panels to the desktop using dowels and screws.
- Secure the back support and leg units to reinforce the frame.
- Attach the drawer runners and insert the storage unit into place.
- Drawer Assembly:
- Assemble the drawer box using the front, back, and side panels.
- Slide in the drawer bottom and install the drawer onto the runners.
- Test for smooth sliding motion and secure any loose fittings.
- Instruction Manual:
Download MICKE Assembly Manual (PDF)
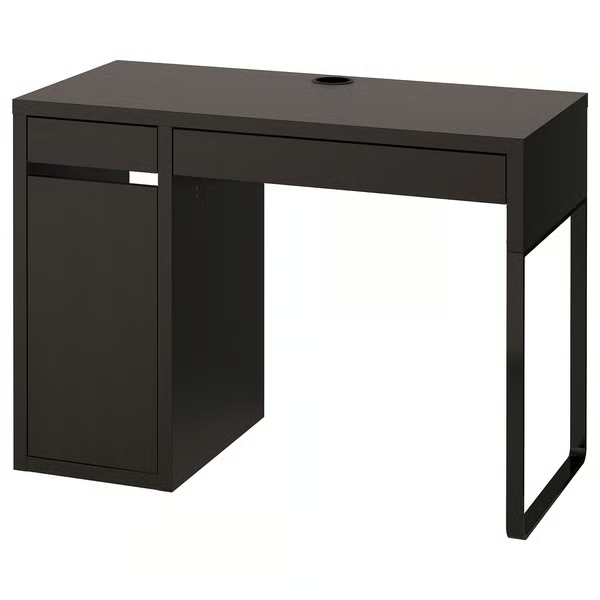
2. MICKE Desk – Black-Brown (602.447.45)
- Desk Assembly:
- Attach the side panels to the main desktop using the provided dowels and screws.
- Secure the back panel and install the support crossbars to stabilize the structure.
- Mount the legs and ensure everything is leveled properly before tightening all screws.
- Drawer Installation:
- Assemble each drawer by joining the front, side, and back panels.
- Slide in the drawer bottoms and insert the drawers into the installed runners.
- Test each drawer to ensure smooth function and alignment.
- Instruction Manual:
Download MICKE Desk – Black-Brown Manual (PDF)
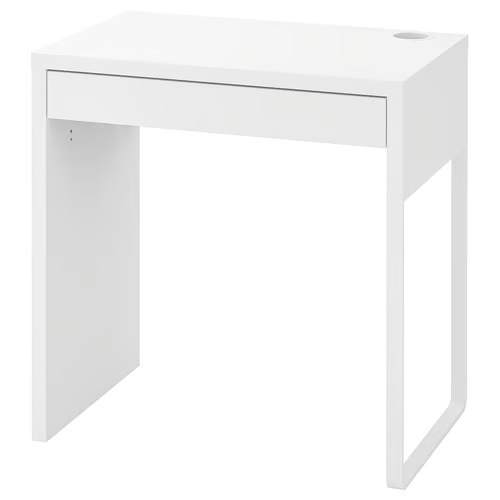
10. MICKE Desk – White (302.130.76)
- Desk Frame Assembly:
- Secure the side panels to the desktop using screws and locking fasteners.
- Attach the back panel and make sure all edges are flush before tightening.
- Drawer Assembly:
- Build the drawer box by connecting the front, back, and side panels to the base.
- Slide the drawer into its tracks and test for smooth operation.
- Instruction Manual:
Download Assembly Manual (PDF)
8. MICKE Desk – Black-Brown (Alternate Model)
- Desk Frame Assembly:
- Connect the tabletop to the side panels and back brace using screws and pre-drilled dowels.
- Attach the legs securely and verify alignment before tightening.
- Drawer and Storage:
- Assemble the drawer components and mount them using the provided runners.
- Ensure the integrated cable management panel is fitted in place.
- Instruction Manual:
Download Assembly Manual (PDF)

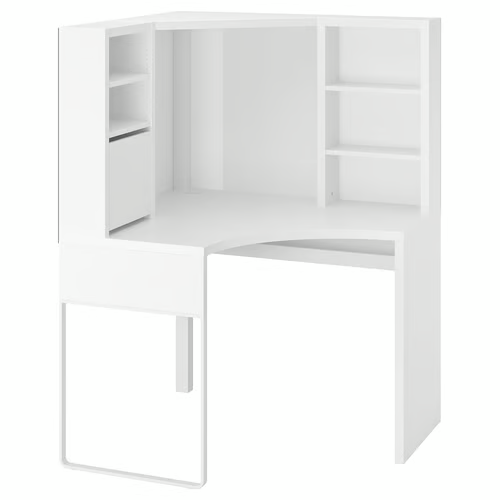
1. MICKE Corner Workstation – White
- Workstation Assembly:
- Start by connecting the two vertical shelf towers to the corner desktop panel.
- Secure each shelf unit using screws provided, ensuring stability and alignment.
- Install the inner adjustable shelves using peg holes according to your preferred height.
- Attach the bottom drawer door panel to the left side unit using hinges and screws.
- Finish by placing the back panels and inserting the cable management grommet.
- Cable Management:
- The desktop includes a built-in cable hole to keep wires organized and out of sight.
- Ideal for setting up a clean home office or study corner with multiple devices.
- Instruction Manual:
Download MICKE Corner Workstation Manual (PDF)
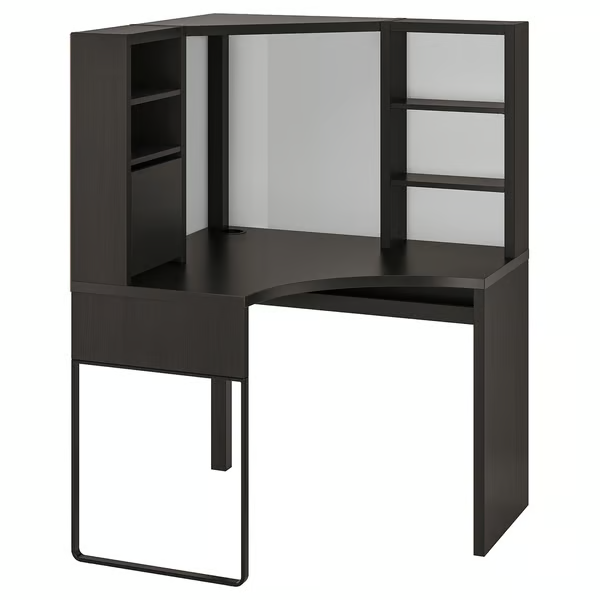
MICKE Corner Workstation – Black-Brown
- Frame Assembly:
- Start by assembling the two side panels and the main corner desktop surface.
- Secure the structure using the provided screws and metal dowels.
- Attach the back support panels to ensure stability.
- Storage & Shelves Installation:
- Insert adjustable shelves into the vertical compartments on both sides.
- Attach the cabinet door using pre-drilled holes and hinges.
- Make sure all shelves are level and tightened securely.
- Cable Management:
- Use the built-in cable outlet to route and hide power cords.
- Test all openings for cable clearance before final tightening.
- Instruction Manual:
Download MICKE Corner Workstation Manual (PDF)